I really like the well-built and compact Node 304 case, and it has nearly everything I could ask for for my mini-itx server and 6x hard drives. The only little gripe, as mentioned in my previous post about the home servers I’ve had over the years, is that the front of the case is a solid wall of plastic. Airflow in the front has to intake through a small top vent and bottom open vent, and then through 2x 92mm fans behind a dust cover. The front pulls off to clean the filter, but it is hard to see if it is dirty, and it is noisier than having some larger fans. For my server user, I want more airflow and ease of cleaning without having to shutdown the system.


Front Panel: 3D Print and Gather Parts
I found this model for a new 3D printed front online:
https://www.printables.com/model/137181-200mm-fan-front-for-fractal-node-304
Which replaces the whole front and provides space for a 200x200x30mm fan. There are other newer designs that keep the USB ports and front audio, however my mini-itx board only has USB 2.0 headers and while I could adapt them to the USB 3.0 of the front, I never have. A power button is sufficient.
I hit up my friend who runs RTK Props to print the front for me, and ordered the rest of the supplies:
- Noctua NF-A20 PWM 200x30mm fan (I highly recommend Noctua when available)
- PC Case Dust Mesh Filter (any brand is fine)
- 16mm Chassis Switch (any brand is fine, but 16mm worked for me)
Put these pieces together and you get this. Beautiful! (At least to me!)


Break Out The Power Tools!
Next up, the scary part of making more room in the front panel metal for that new airflow to flow. With a combination of a large pair of tin snips, a hack saw and a janky angle grinder, I was able to clear out the front metal front metal like so:

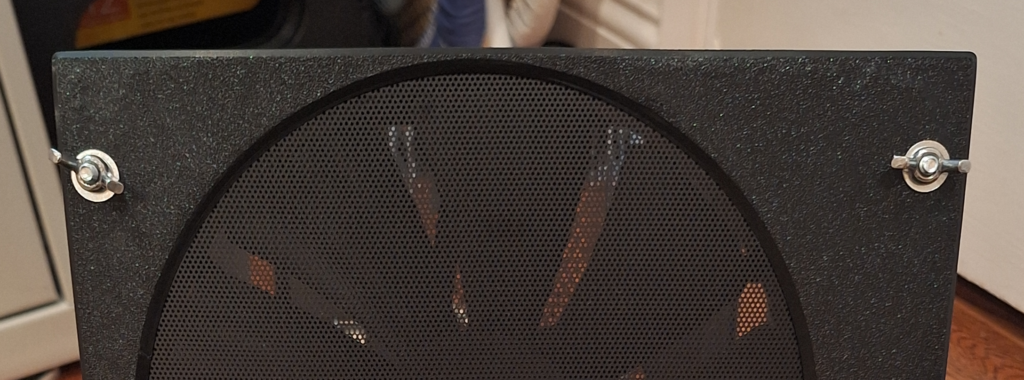
Make sure to wear safety goggles, gloves and afterwards file and sand the metal edges to make them safer to handle. It isn’t the prettiest of metal working jobs, but the price was right! You may notice some bolts have appeared – these are my plans for making the front panel removable without disassembly and without concerns for looks. There are many ways to do this, but for anyone who wants to re-create my mess:
- #10 1/2 in. Zinc Flat Washer
- #10-24 x 2 in. Zinc Plated Round Head Machine Screw (4-Pack)
- #10-24 Zinc Plated Wing Nut (4-Pack)
To get everything lined up, I taped the new front to the assembled case, marked centers of the pre-existing homes with a spring center punch, drilled them out, and then snipped out a bit of the new front’s backside to make room counter-sink the nuts. The power button wires run through the bottom right hole, so I drilled a new one above it for that side. After clamping down the front with the washers and wing nuts, we are ready to re-assemble our server inside the case!
People Don’t Use Enough Wing Nuts Nowadays

The new system is up and running, and the temperatures have dropped several degrees, and I think a vacuum to the front panel will clean up the filter well enough. The front panel button and fan have enough cable length that the front can be removed, the fan replaced or cleaned, and without shutting down the system.
I’m glad to finally have this mini-project done and a bit more peace-of-mind that a clogged out-of-sight filter won’t cause overheating.

1 thought on “Modifying My Node 304 Home Server Front”