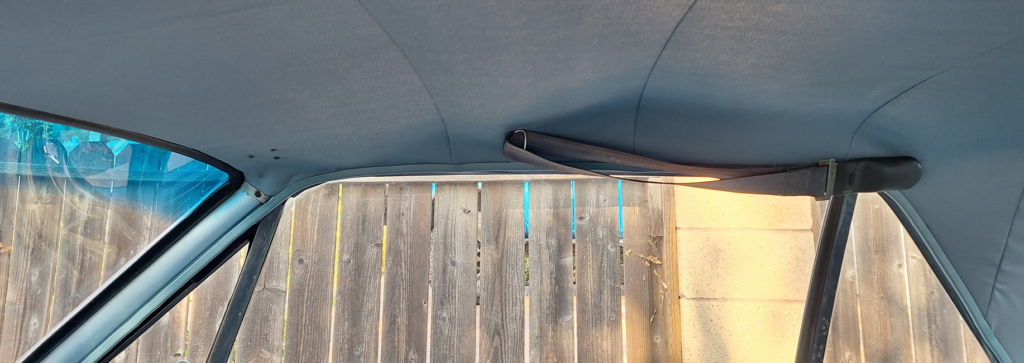
Doing this job properly requires pulling both the windshield and the rear window. The windshield had a crack in the corner, so I wanted to replace it anyways, and the rear window was fine. The old headliner rested on my head while driving, and looked quite droopy and sad. It was also the wrong color (turquoise instead of medium blue) and installed improperly without removing the glass.
For a good thorough video covering headliner and window install, check out this video from CJ Pony Parts.


First step let’s pull the windshield and rear window. I removed the chrome molding before paint, so I didn’t have to risk scratching paint taking it off now. Using a small pry bar like a “wonder bar” can help apply pressure along the inside molding edge too.


Using a utility knife, cut away the outside lip of the molding, and with a helper push with your hands from the inside while holding the outside. Clean up the mess on the body around both windows, and replace any molding clips that came off. These are a real pain the get on, and the wonder bar comes in handy again. Hammer the clip carefully until it gets wedged onto the peg, then the wonder bar with its split lets you hammer it home without hitting the peg.


Next I removed the old headliner, keeping track of which metal bows went where and into which holes.


I removed the original insulation, which was fine, to be re-glued back in place. Some surface rust, and the bows looked like they came from the bottom of the ocean, but nothing major. I sanded the bows down and painted them with rust inhibitor paint.
Funny side story…

On top of the original sun visor, that very light blue was a replacement headliner bought in the 90’s but never installed, the next is the incorrectly installed turquoise that I didn’t know was the wrong color until recently, the next is an original piece of the first headliner wrapped around the window frame, and the next is the new replacement that’s a close match to original.
Another annoyance, the new replacement (bottom, medium blue), old replacement (middle, light blue) and installed wrong replacement (top, turquoise) have the bow pockets in all different locations. Why!!! Especially that bottom one towards the rear of the car – it’s almost 2 inches more forward.

I installed the bows, then popped them into the correct holes and started to stretch the vinyl and temporarily securing it in place with pieces of windlace.


This part took a couple days. I added pieces of windlace on all the window openings to stretch it out, let it sit overnight, sit in the sun, and then re-tighten. Once it’s good to go, using some 3M yellow weatherstrip adhesive I would pull off 12 inches or so of windlace, apply glue to window frame and the fabric, wait until tacky, stick it back on place and put the windlace back. Repeat until everything is glued. Let it dry a day, then with a utility knife remove the excess, install your final new pieces of windlace, and carefully poke holes for the sun visors and dome light.
Installing the window went as expected from the video. Strip caulk was put inside the window seal, a clothesline was used to help get the seal over the body, more sealant put between window and gasket, and more interior trim could be put into place. There is still a wrinkle or two, but it looks good to me and maybe will fall out after some summer heat.


Last up, putting the window molding back on. The rear window is easy peasy, but the front window was very frustrating. If any pieces are slightly bent, they won’t want to curve properly. The passenger side vertical piece in particular didn’t want to clip in, or would bend clips. It finally got close enough and hope to never touch it again.


It is finally weathertight again. Next up is going to be the wheels – it really lets the rest of the car down, but that’s for another day…

